|
Select Scenes from the Bayuex Tapestry
The scenes below have been selected to give the viewer a sampling of interesting images in the complete tapestry.


|
|
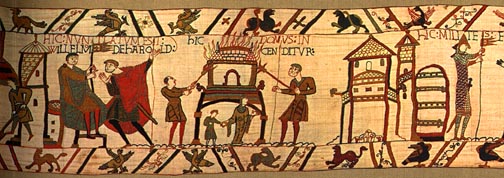
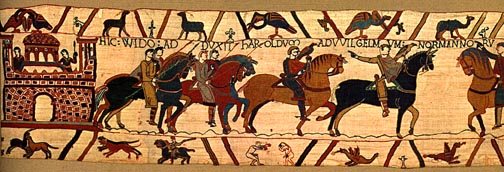
Harold Godwinson and his entourage leave London.
|
Warrior about to experience Excedrin Headache #169
|
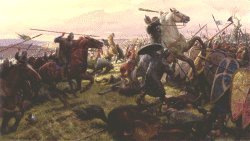
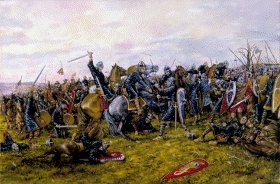
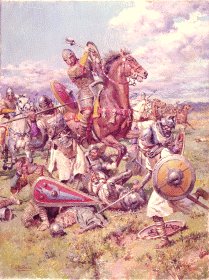
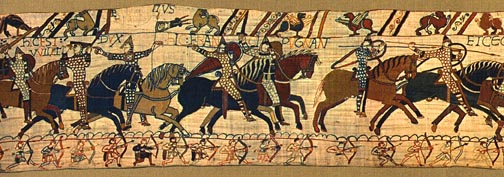
A contemporary artist's conception of the heavy fighting at the Battle of Hastings
|
|
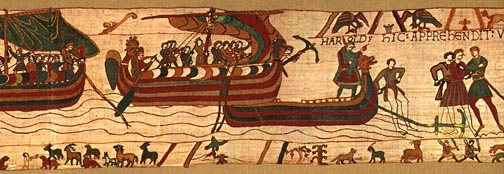
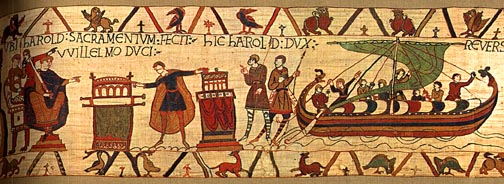
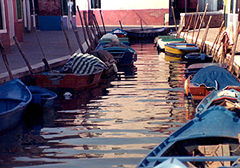
Eleventh-century vessels
|
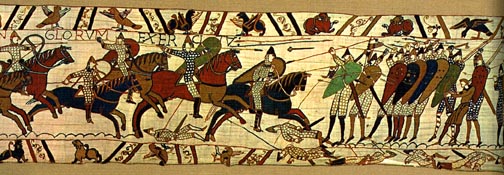
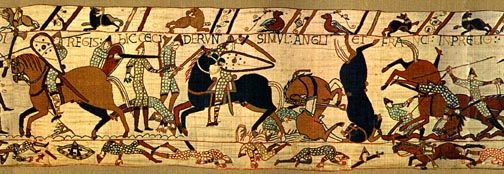
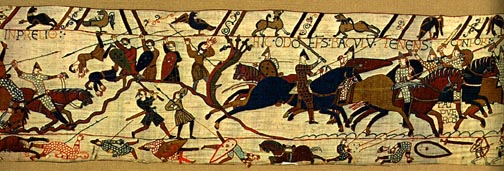
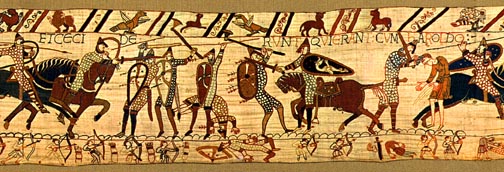
Fierce Fighting between Normans and Anglo-Saxons
|
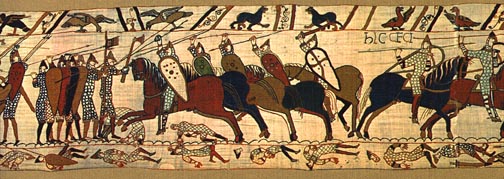
Cavalry engaging a phalanx-type deployment.
|
|
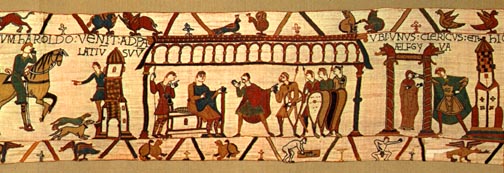
On the right side of this scene is the mysterious Lady Aelfgyva
|
An Anglo-Saxon axe man could bring down Norman horse and rider with one blow.
|
Mace-wielding cavalryman
|
|
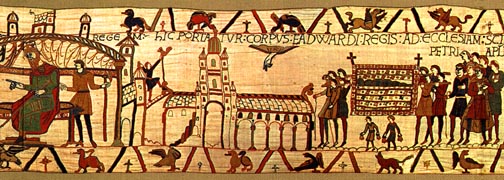
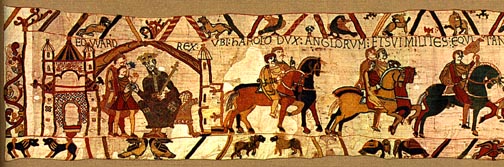
Funeral ceremony of Edward the Confessor
|
Bishop Odo of Bayeux, brandishing a mace, enters the fray.
|
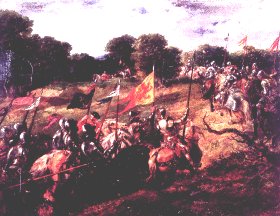
Plate armor replaces chain mail.
|
|
Normans torch an Anglo-Saxon residence
|
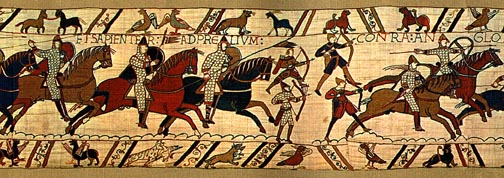
Norman cavalry and archers continue the attack.
|
|
|
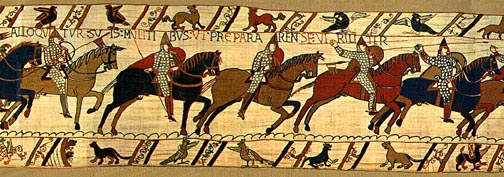
Norman Cavalry Charge
|
Norman cavalry charge the Royal Standard of King Harold
|
Image
|
|
Norman cavalry and archers
|
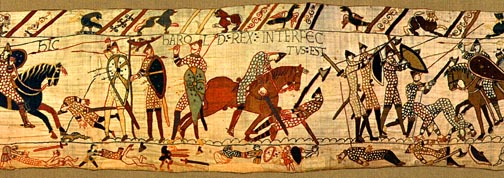
The controversial scene depicting the death of King Harold.
|
Image
|
|
Norman cavalry attack ax-wielding Anglo-Saxons
|
King Edward the Confessor sends Earl Harold on a mission to Normandy
|
Image
|
|
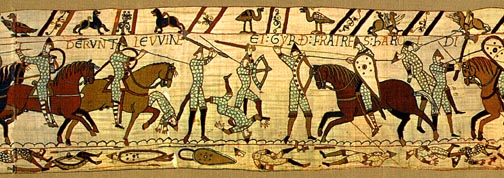
King Harold's brothers, Leofwine and Gyrth
|
The mysterious Lady Aelfgyva
|

Image
|
|
Feigned Flight?
|
Earl Harold and Duke William with their sporting birds.
|
Image
|

